We are to choose a building whether from previous Design Studio designs or other buildings. The one I have chosen is by the Weinberg Architects. It's called the Villa Weinberg. Check out this link for more information on the building.
I started the building by tracing the floor plans in Autocad. I had to make sure that all the plans are tallied.
 |
Then I imported the plan drawings in Autocad into Rhinoceros file.

The walls and slabs are extruded one by one as the levels are different because of the contour of the site.

Markings were done on the walls so that openings can be done easier without referring to the floor plans again and again.

Layering is best to be done in the earlier stage to differentiate different components. Different colour can be selected for easier recognition.

Different level of slabs need to be determined to ensure the height of each main spaces was correct. walls. More layers were added to the list at this stage.

The roofs are finally done! This is a rough overall of the whole building.

The facade. Made of black wooden cladding.

Shaded mode of the building. Materials and transparency were added to it too to show glass material.

The extra construction lines from the earlier stage were cleared and ready to be imported into 3ds Max.

Here is what we learn in class!
To see the 5 rendered pictures, click here!
Project 2a: Still Rendering with Materials, Lights, Camera Views with Site Context
Project 2 is a continual from Project 1 which we have to render the exterior of the 3D model created during project 1.
To apply rendering on the surface of the model to create the rendering effect, I found a picture from google which looked like this:

I used UVW mapping to adjust the tiles and the direction of the tiles to make the tiles look perfect on the wall. I also used Photoshop to invert the colour of the picture to get the bumpy effect and the depth of the wood material.

After the wood cladding, concrete, aluminium and glass materials are applied, I experimented with the rendering setup to see the effect.

I found 3d trees online to recreate the contour and site surrounding on site. They also included the bitmap in the file with the original texture and colour of the trees without us having to apply the colours.

The grass is added to make the contour more realistic.

Before applying the material, I also inserted an inverted colour picture of the grass the increase the bump effect of the grass. This increase the depth of the 2D grass.
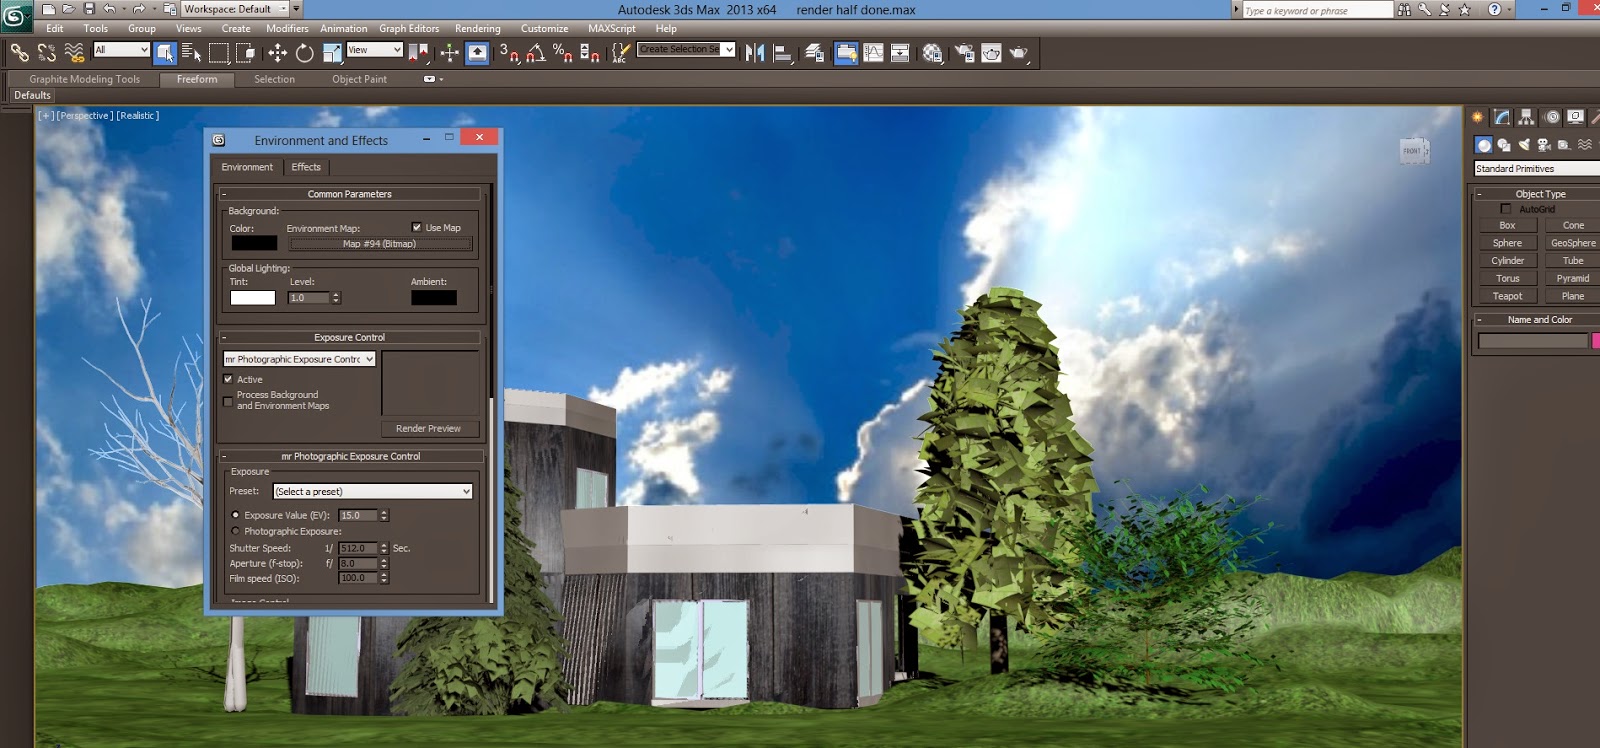
Lastly, the suitable background is inserted through the "environment" button on top. I adjusted the lighting using photoshop to reduce the brightness and increase the contrast.
Here is what we learn in class!
To see the final product, click here.
Project 2b: Still Rendering with Materials, Lights, Camera Views with Site Context
Project 2 is divided into to part and what we did for this time is to render the interior of the building.
The roof and contour as well as other objects that are not used are hidden away temporarily to avoid mis-clicking them.

I adjusted the perspective I wanted and clicked ctrl + c to set the view to which I prefer.

Materials are assigned to the flooring and the leveled wooden deck like what we have learnt from the last project. Then furniture and decorations needed are downloaded from website like www.the3dstudio.com.

The furniture is then imported into my 3ds max file of the building.

After the file is imported, the furniture is scaled until it is proportional to the building.

Lighting is added after all the furniture is set to increase the brightness of the interior spaces according to preference. The setting of the target light is also adjusted to suit the lamp and the function of the lamp in the space.

The add brightness into the interior, the exposure value under the environment option can be adjusted. Lower value of exposure makes the room brighter.

Lastly, I have chosen the best view from the final rendering.

To see the final product, click here.
Project 3: A maximum 90 seconds Animation of the Completed 3D Scene
Project 3 requires us to make a 3D animation using 3ds Max and then edit using video editing software
Use the file from the last project and draw the path I wanted. For example, the circle below. Then create a camera with the target I want.

After selecting the camera, click the animation tab above and select constraints and then path contraint.

To change your path, slide to the frame I want and click autokey and then move the path. After I have done, I deselect the autokey and continue playing the frames.

To save my file, I clicked F10 to adjust my video setting and my file format.

The video quality is also adjusted. Everything is set to default and the final gather precision is set to low.

The video finally started to render!!

The frames I have rendered is imported into window movie maker to be edited into a complete video with caption and credits inserted. A nice background music is also chosen to enhance the effect. Then the video is exported.

Here is the link to my final video!!!

No comments:
Post a Comment
Thanks for your comment <3